Bookings
Creating a booking in Artistu
One of the most important aspects of booking artists and a booking system in general is the ability to create and manage bookings. In this guide, we will walk you through the key features of the platform and provide a clear understanding of how to get started with your first bookings.
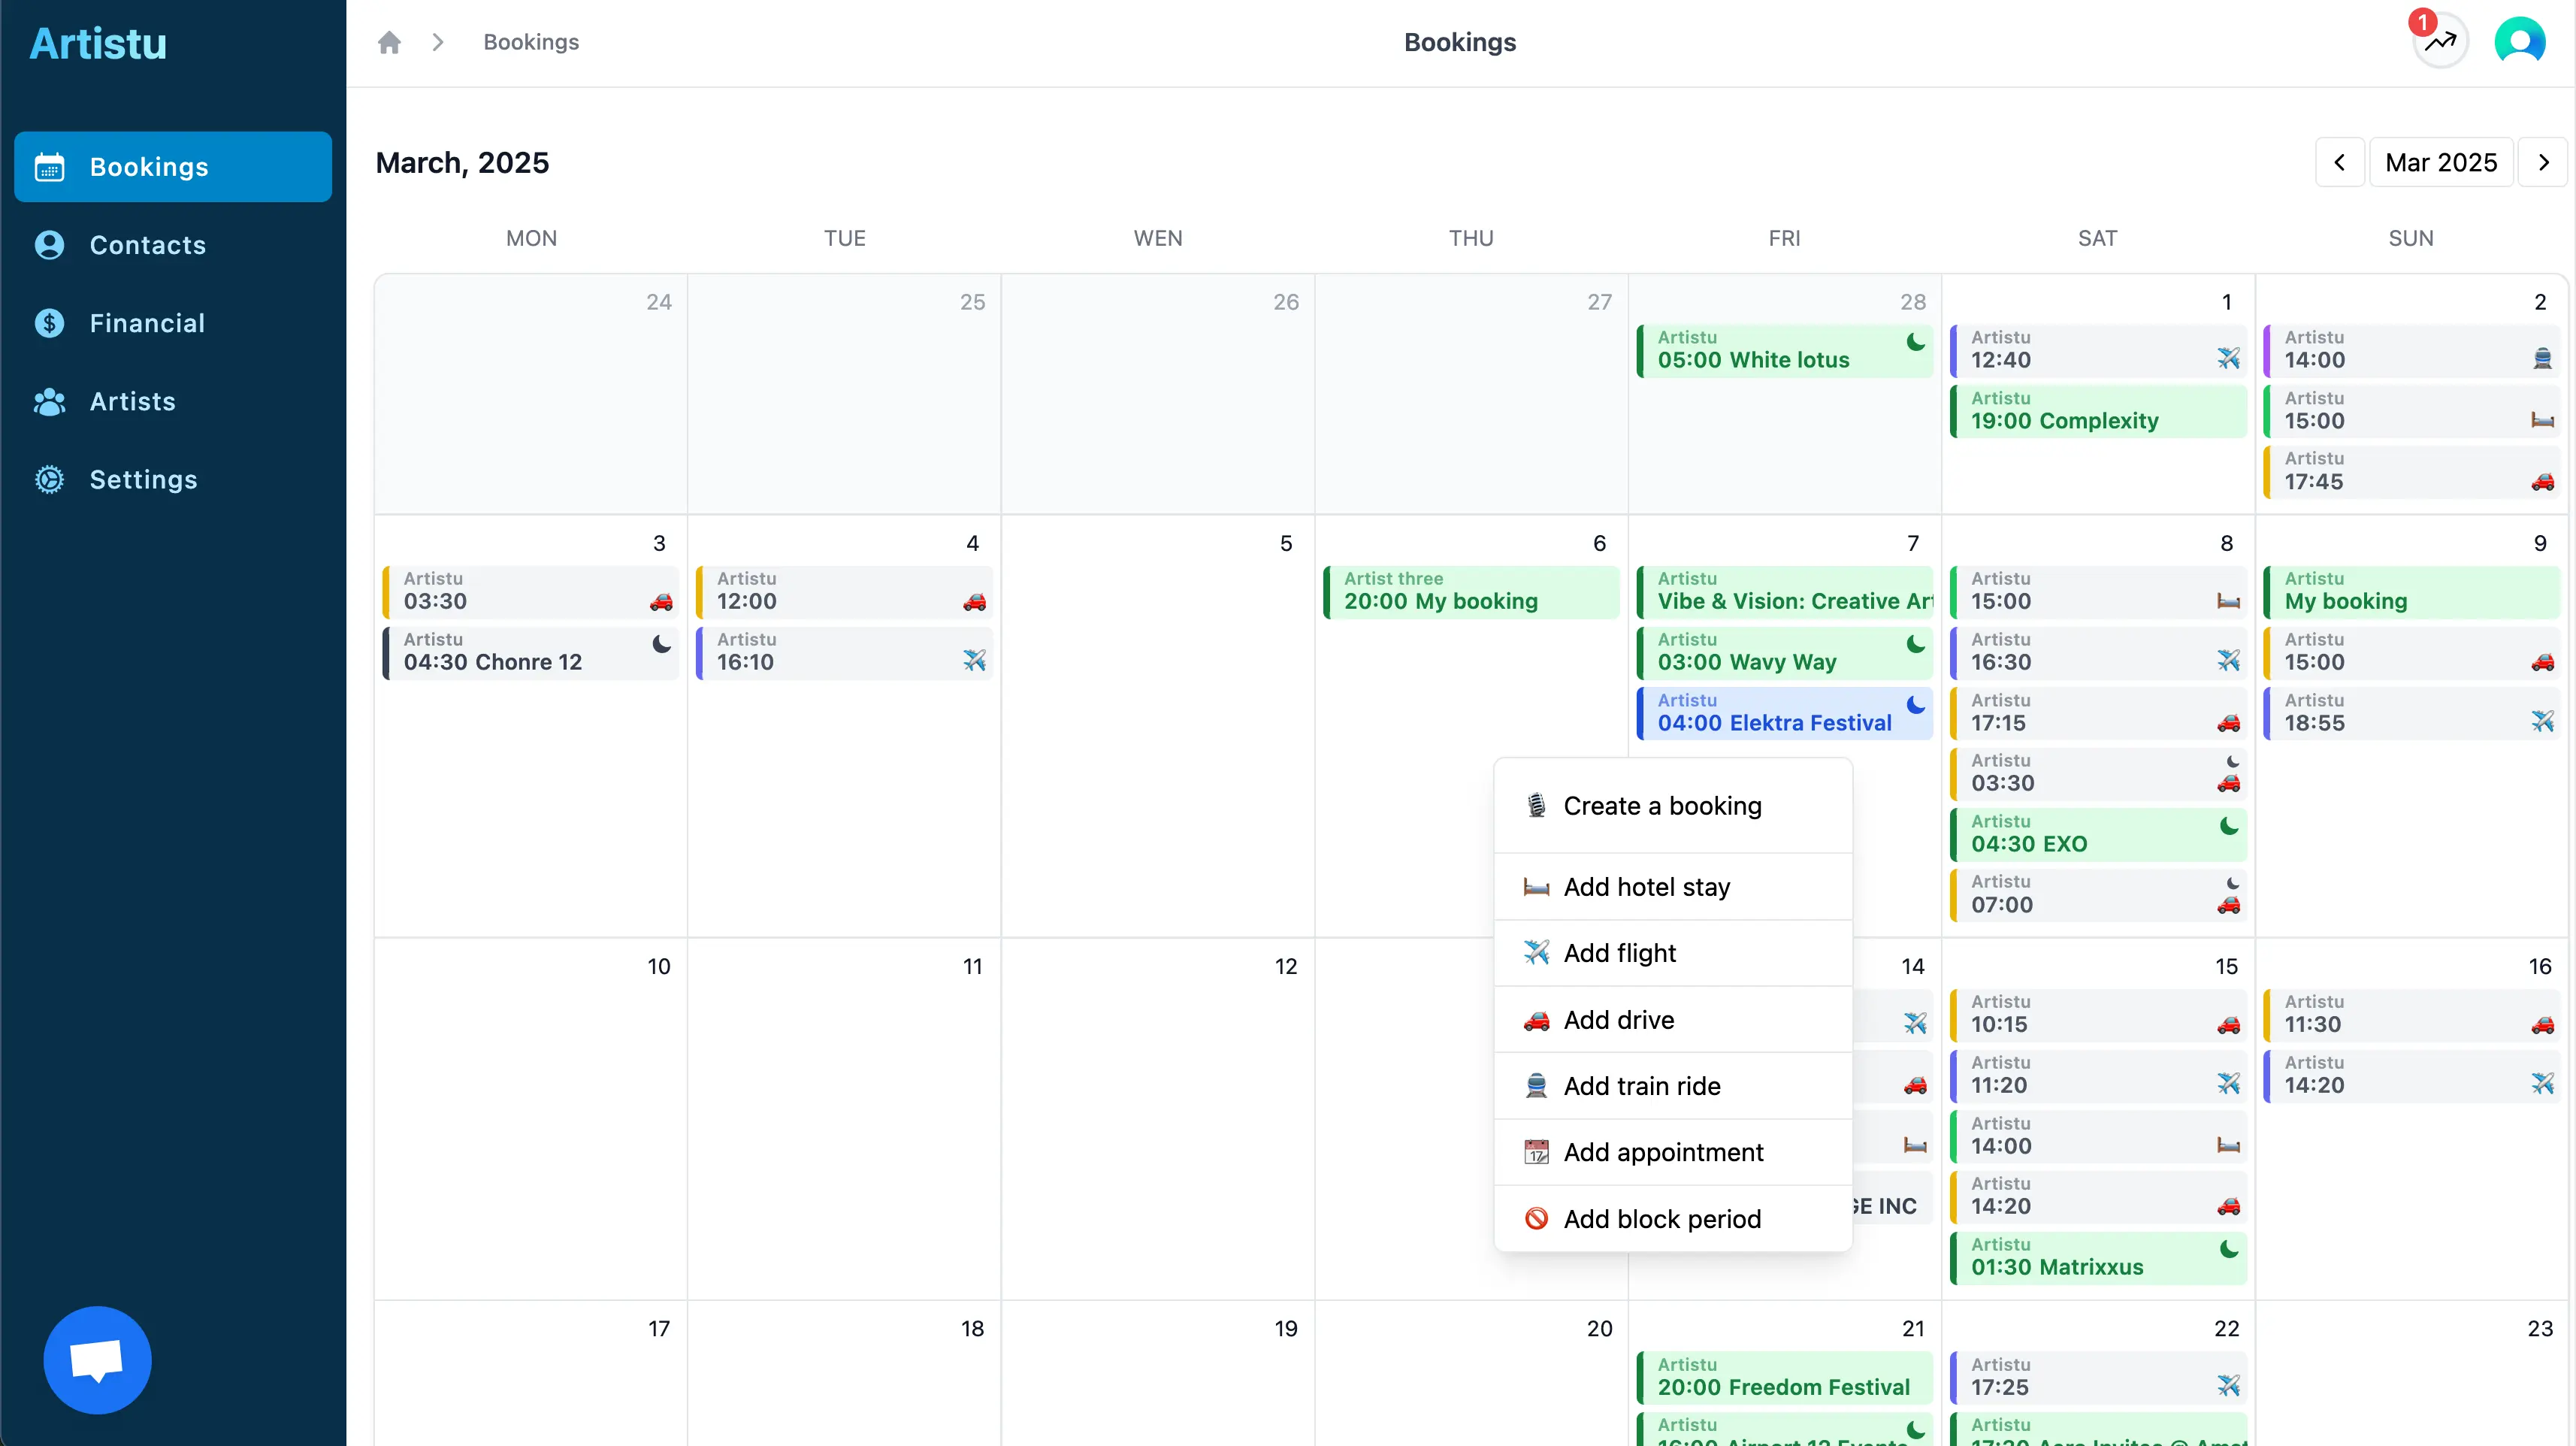
Creating bookings from the calendar
On your calendar overview screen, click on a calendar day and a context menu appears to create a new booking.
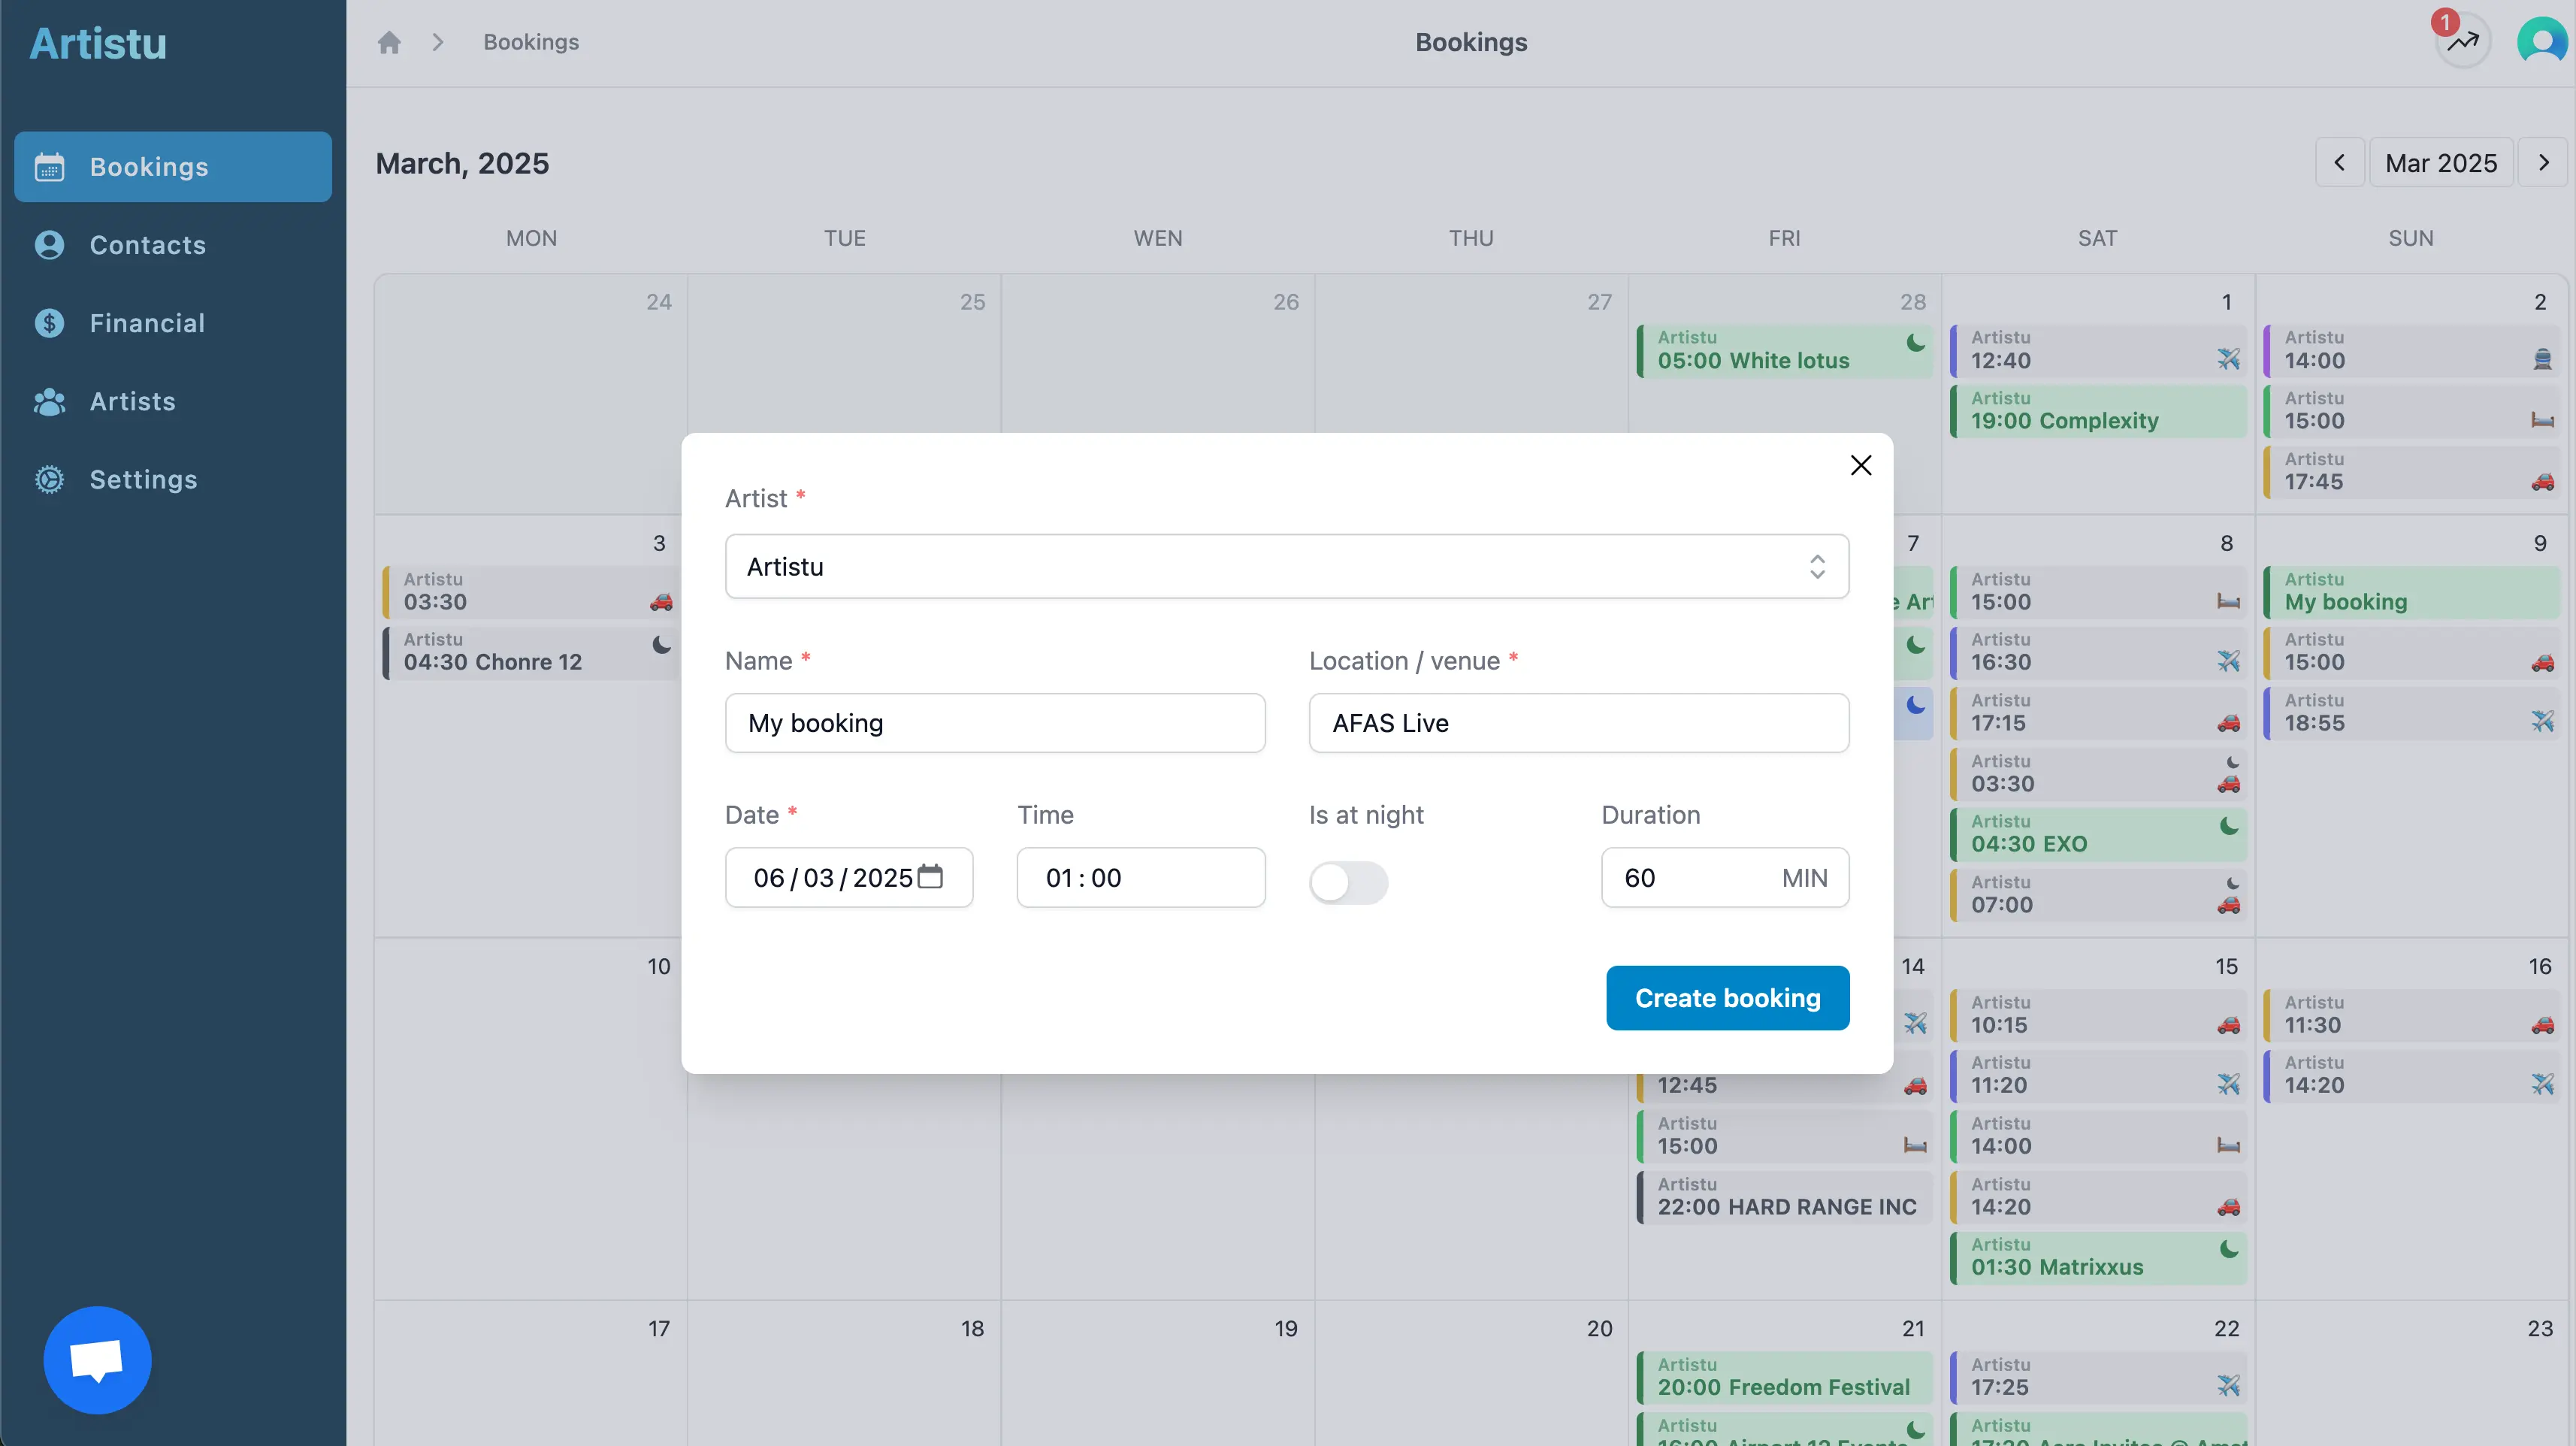
A popup will appear allowing you to provide the necessary information for you booking such as the artist, booking name and date.
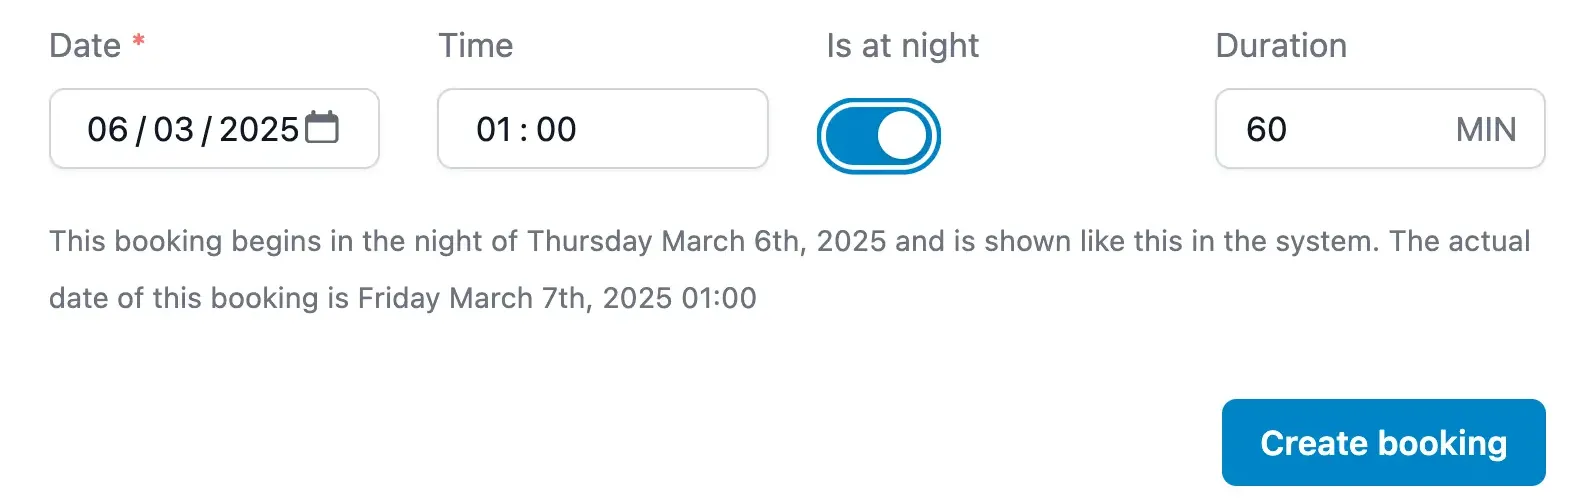
At night bookings
Artistu can create bookings that occur "at night". What this means is that the booking will be scheduled in the next night of the selected date.
And example of this is setting the date to March 3rd at 02:00AM and selecting "at night" as the booking time. Artistu will then create a booking for March 4th at 02:00AM, the next night.
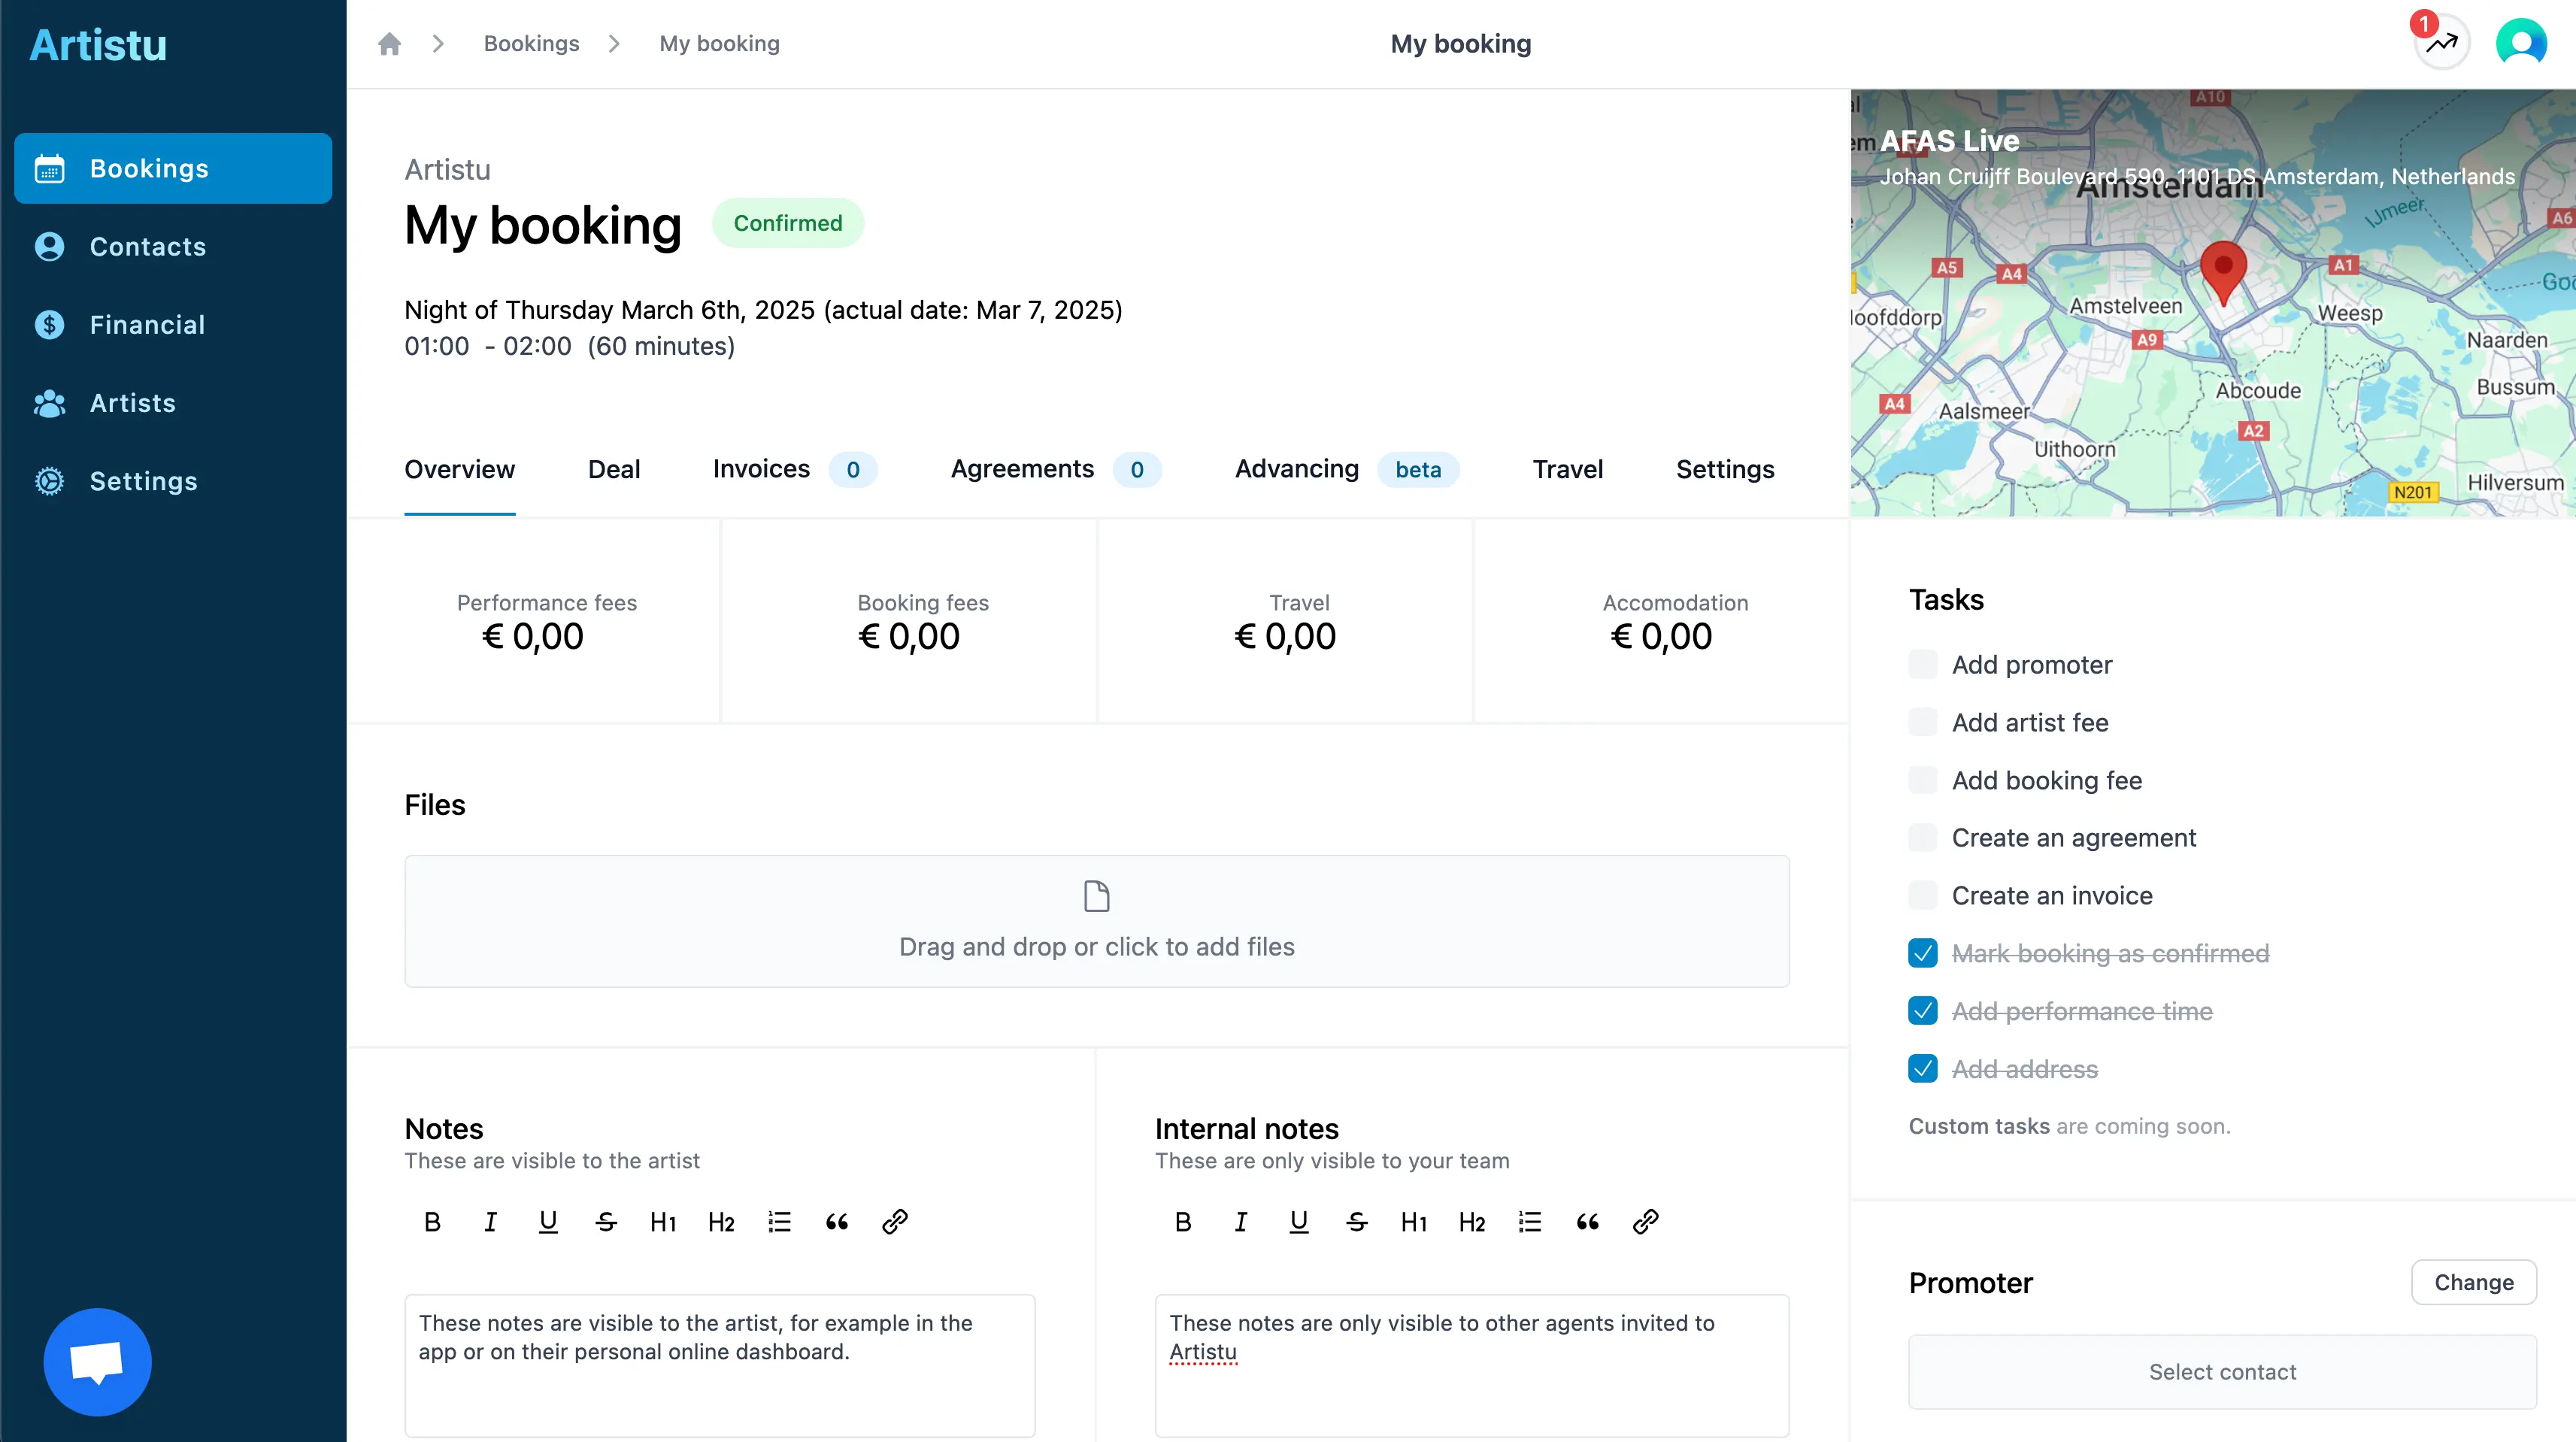
Performance details
After creating the booking and heading to the "settings" tab it is advised to provide necessary information about the performance such as the venue, stage, capacity and address.
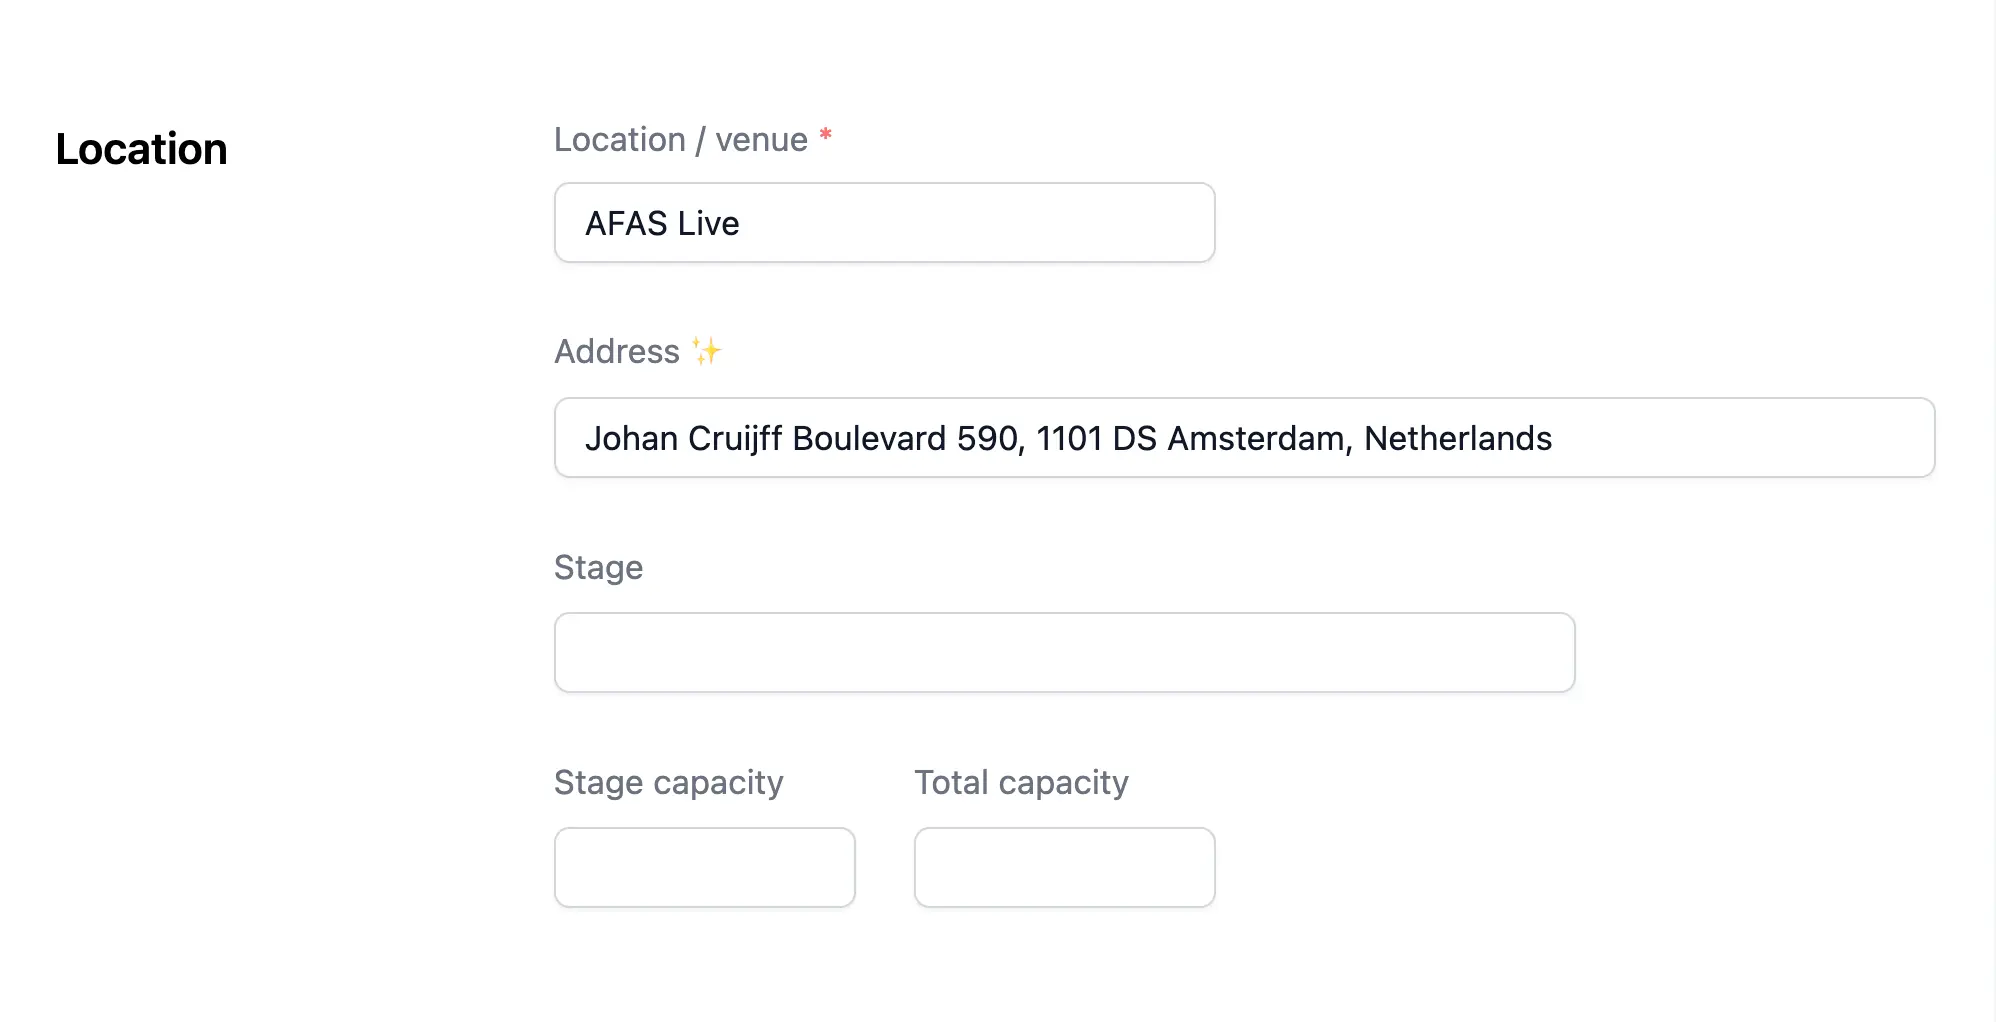
Address / autocomplete
You are in luck, we integrated Google address autocomplete making adding address information a breeze.
Artistu can use provided address information to automatically determine regions checks and other useful information.
About region checks
Region checks are a feature scheduled to be released before August 2025
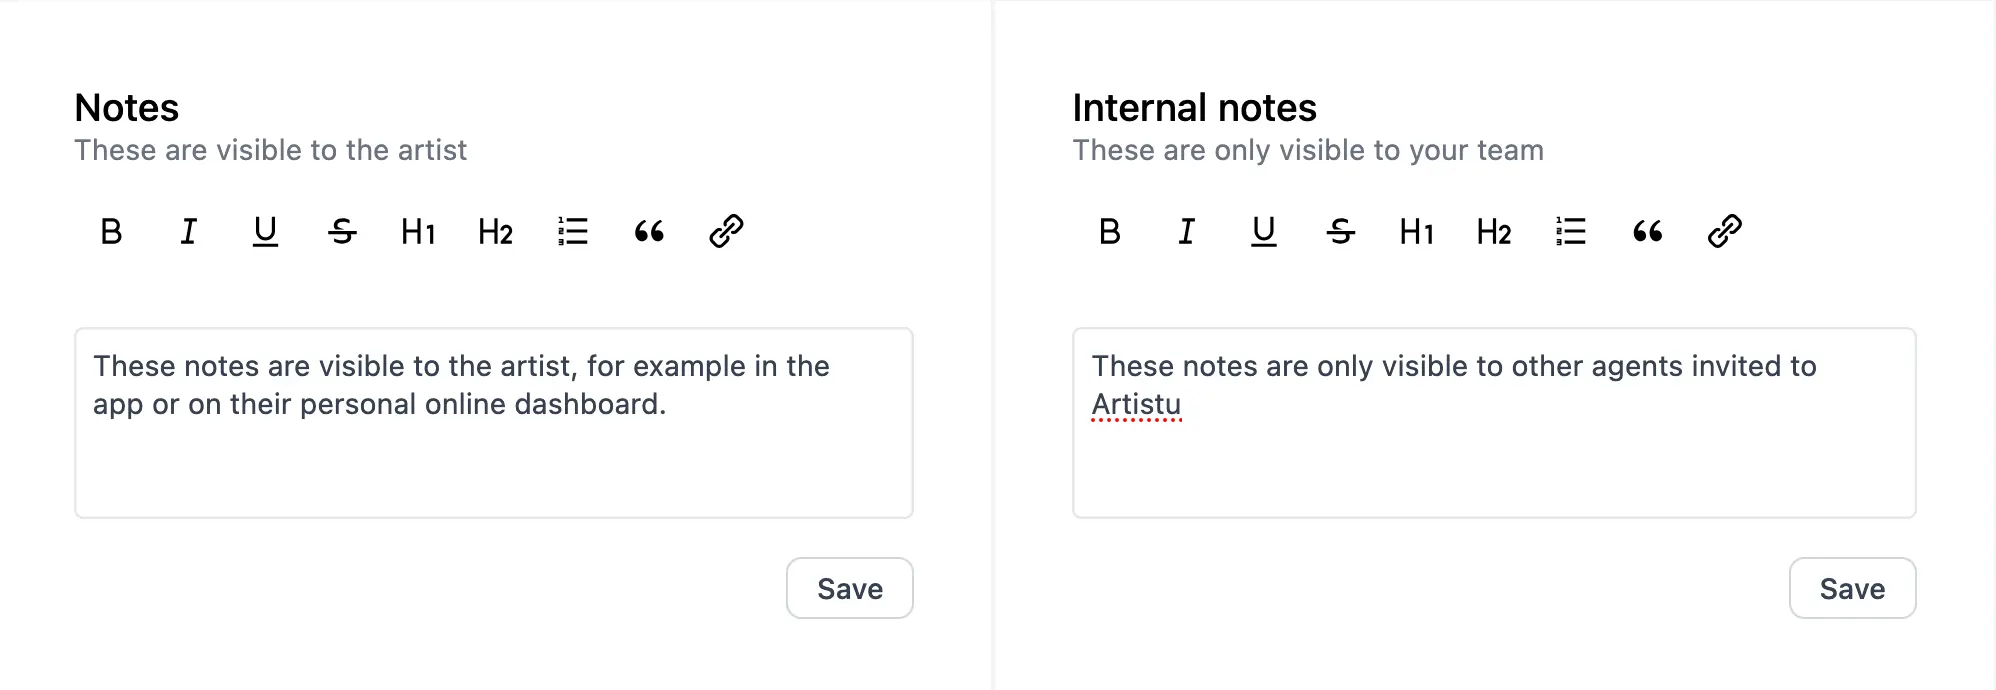
Notes
You can add notes to a booking, these are generally availble to you, your agents and the artist in their app.
Artistu also allows you to add internal notes to the booking. These notes are only visible to you and your team.
Conclusion
Now that you have setup your booking with the most important information, it is time to start adding contacts, creating invoices and getting that contract signed.